- Open today, 10 am to 5 pm.
- Parking & Directions
- Free Admission
Classes and Workshops
The Perry Glass Studio offers something for everyone, from beginners to professional artists. Experience the excitement of glassmaking for yourself!
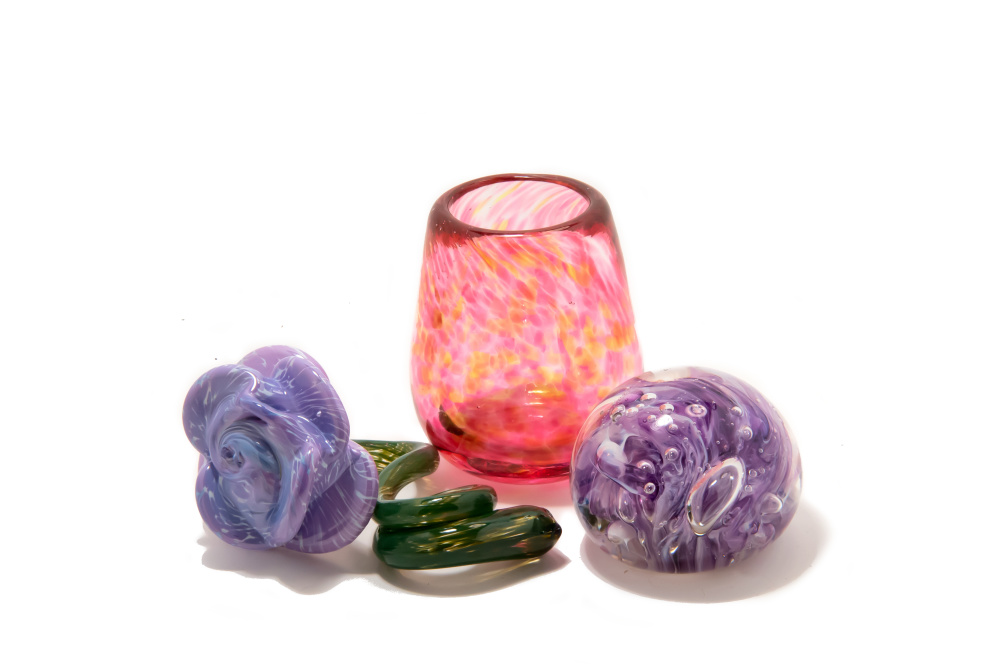
Learn the basics in these entry level classes. View all
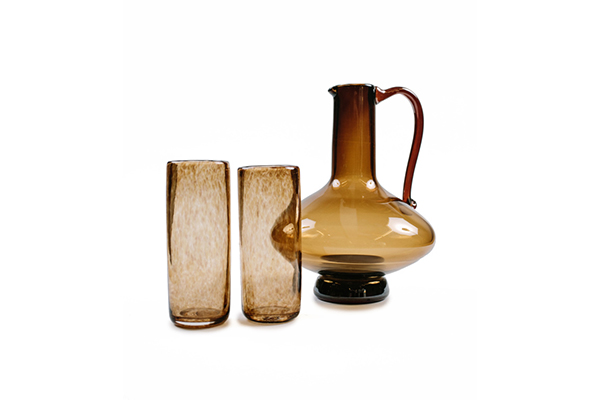
Take your experience to the next level. See class offerings
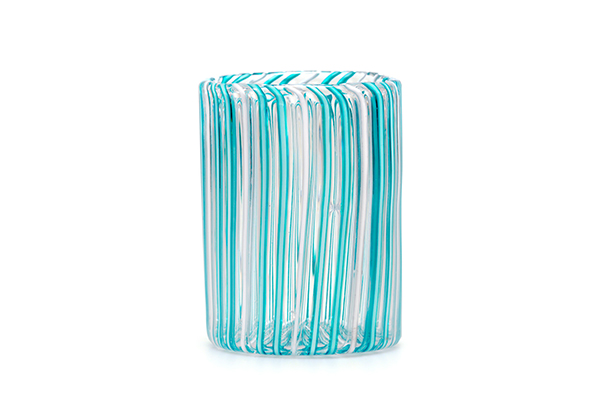
Build your skills and grow your artistic practice. Prerequisites are required. See class offerings
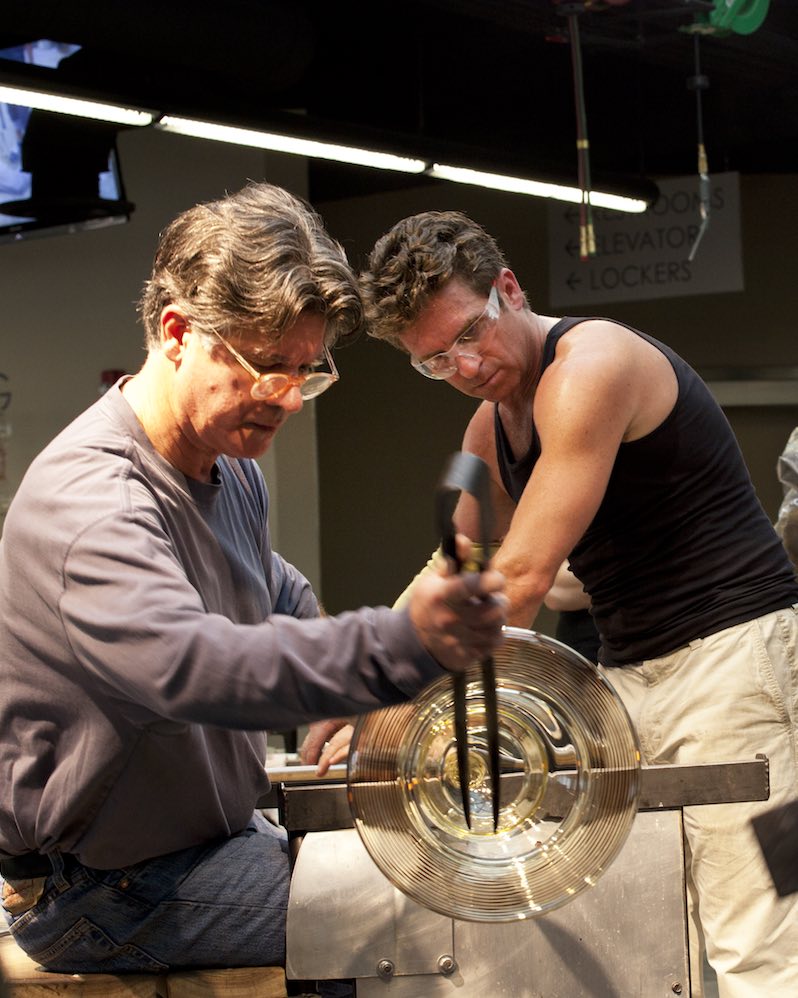
Advance your knowledge during these evening sessions. View sessions
Private Lessons
Saturdays from 5:30–8:30 p.m. Other times may be available as scheduling permits. For more information or to reserve your evening, please call the Glass Studio at 757-333-6299.
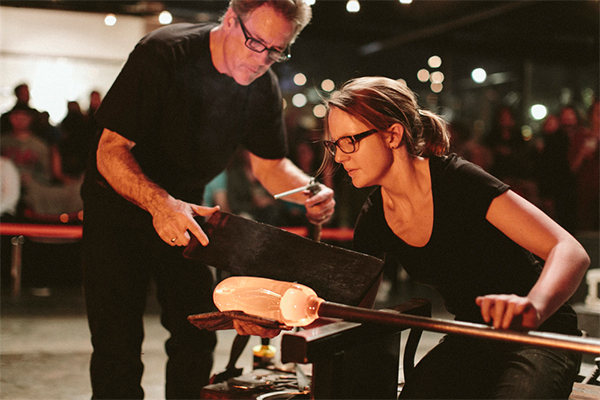
Invest three hours in concentrated one-on-one training with a skilled instructor.
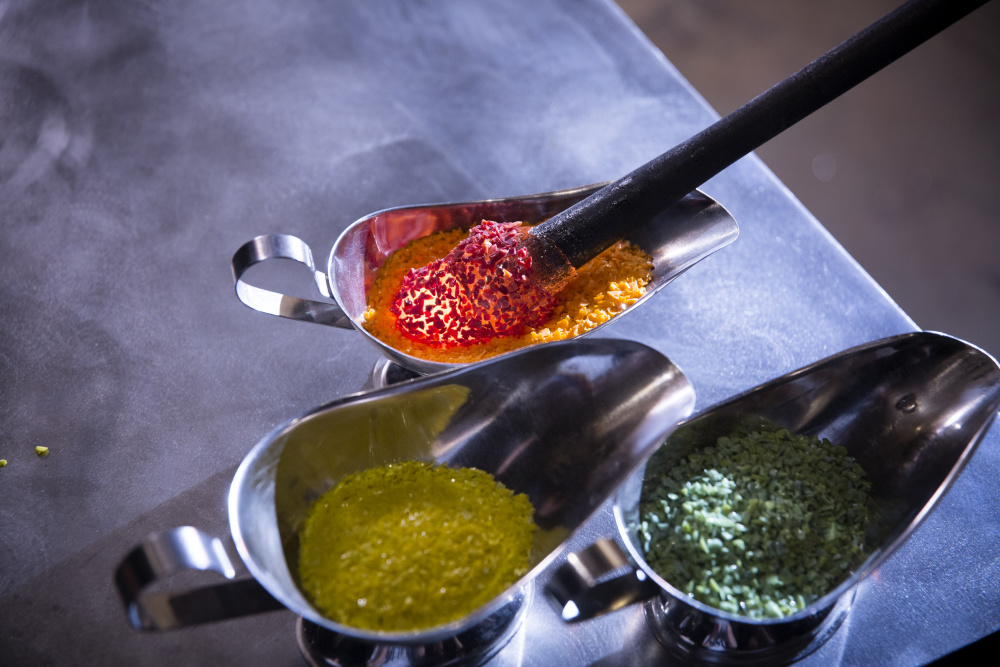
Many of our regular classes can be scheduled as private sessions for your group. Prices vary by process and group size.
Glass Processes
Below are detailed descriptions of the glass processes offered at the Perry Glass Studio. See examples of works representing each of these processes from the Chrysler Museum collection.
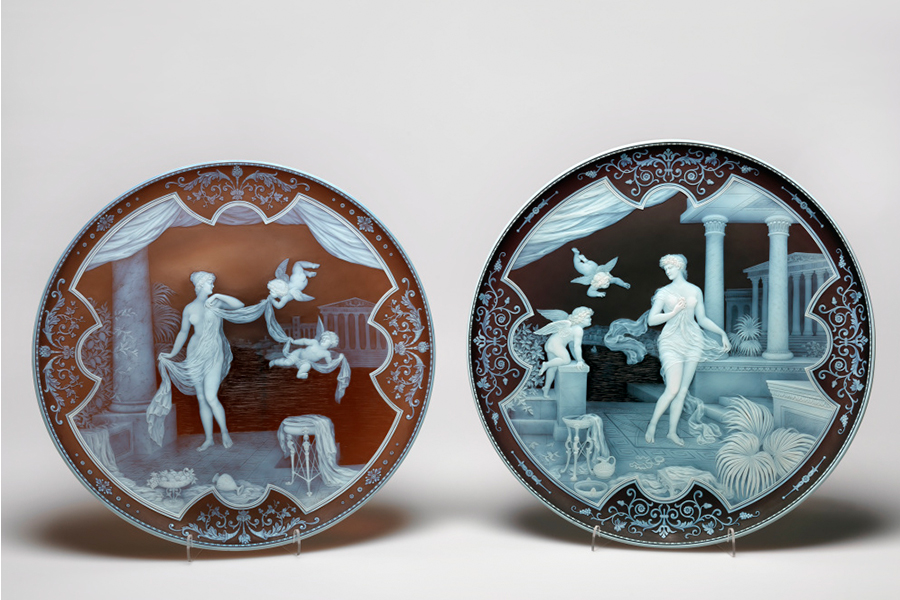
Coldworking is the practice of cutting, grinding, polishing, and engraving glass at room temperature to carve, shape, and add surface decoration. Textures and designs are applied with techniques dating back to Ancient Egypt. Using abrasives such as diamonds, stone, silicone carbide, and cerium, cold-workers achieve finishes ranging from rough to optically polished. “Cameo” and “cut glass” are two prominent coldworking techniques. Rooted in emulating the practice of gem cutting and faceting, coldworking is now achieved with modern tools such as belt sanders, lapidary wheels, lathes, saws, sandblasters, handheld grinders/engravers, and drill presses. George Woodall and Thomas Woodall, The Intruders and The Attack

Glassblowing is the act of inflating a molten glass bubble on the end of a blowpipe (a long, steel tube) and manipulating it with a variety of metal and wooden tools. The fluid bubble is also shaped using invisible tools such as gravity, air pressure, centrifugal force, and heat. To get started, raw materials are heated in a furnace to 2150º F. In its molten state, glass is the consistency of thick honey and is constantly moving until its temperature drops below 1300º F. The glassblower must respond to its flow, moving with it in a dance that dates back to 50 BCE. In the hot glass studio, also known as a hot shop, there are typically furnaces for melting glass; reheating chambers to keep the glass in a molten state during the artist’s creative process; and ovens/kilns to slowly cool the glass to room temperature, relieving any internal stress. Nancy Callan, Aquaman Stinger

Glass sculpting is similar to glassblowing, but there is no breath or bubble involved. This technique calls upon artists to manipulate solid molten glass on the end of a long metal rod. A variety of metal and wooden tools are used to sculpt the glass in its molten state. As in glassblowing, the glass comes from a melting furnace and is worked in the hot shop before being placed in a kiln to cool slowly from 900º F to room temperature. John Miller, CB w/ L, T and pickles
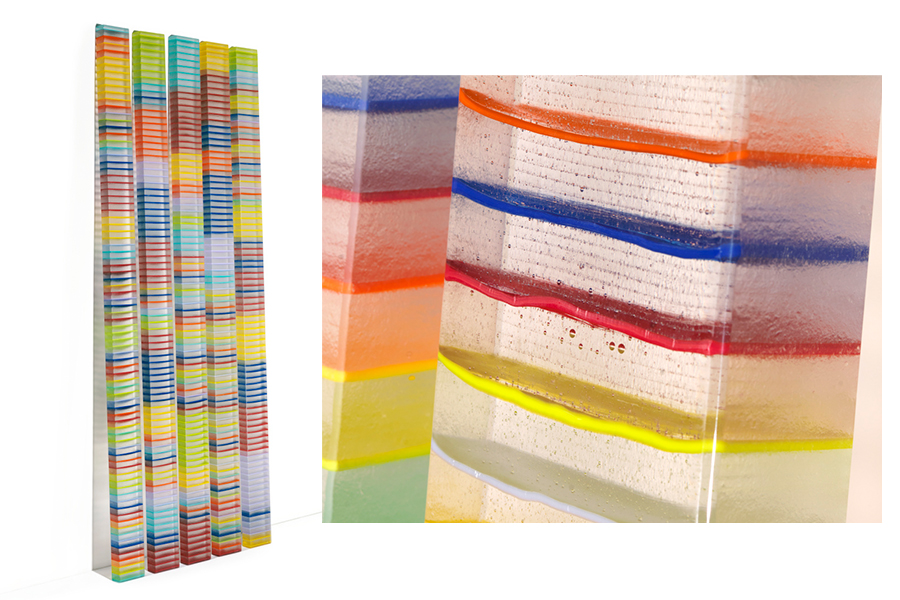
Fusing begins in the flat glass studio. The artist creates a design with paper and pencil and transfers the design to sheet glass. These sheets may be clear, colorful, transparent, or opaque. The flat glass is cut into shapes with scoring tools called glass cutters. The cut shapes fit together like a puzzle, and the tightly fitting pieces are stacked on top of each other into two or more layers. The assembled “puzzle” goes into a kiln where it is slowly heated to a temperature between 1200º F and 1500º F, achieving the desired level of “fuse.”
Slumping is commonly paired with fusing. Artists heat glass in a kiln until it softens (1250º F) and then slump the molten material into or over a mold to create bowls, platters, trays, and more. A typical slumping mold is made of a ceramic material to which glass will not stick. Some slumping processes involve complicated molds to make sculpture and manipulating the glass “by hand” inside the kiln when it is at slumping temperature. Jun Kaneko, Colorbox II
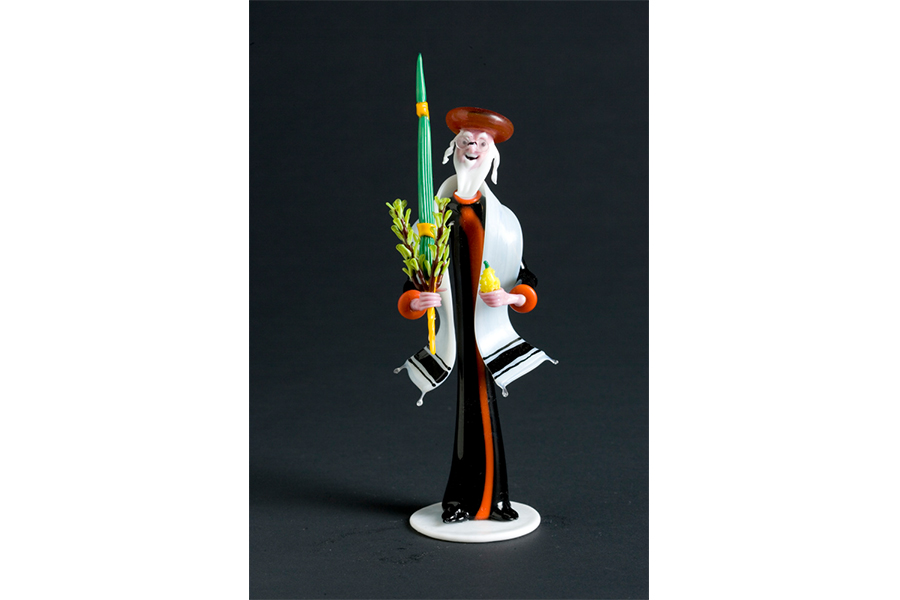
One of the oldest glassmaking techniques, flameworking has maintained its relevance from ancient times to today. Ancient Egyptians developed it to create beads and small vessels. Today, it is an artist process and one used to create scientific laboratory ware and intricate medical devices. The crucial tool in flameworking is the torch. Modern torches are fueled with propane and oxygen. Before modern advancements, artists used an oil lamp with air added from a bellows, which is why it is also referred to as lampworking. Ancient “torches” were ceramic beehive-shaped fire boxes with a small opening in the top, which allowed a focused flame to escape.
Solid glass rods and hollow glass tubing are heated directly in a torch’s flame and then shaped/inflated. Sculpture, vessels, and jewelry are common items made using this process. There is a wide range of possibility from producing very small and intricate works to much larger and grand, depending on the size of the torch and the scale of the glass material (tubing). Gravity, centrifugal force, air pressure, and heat all play a major role in shaping glass at the torch. Giani Tosso, Chess Set (Rook)
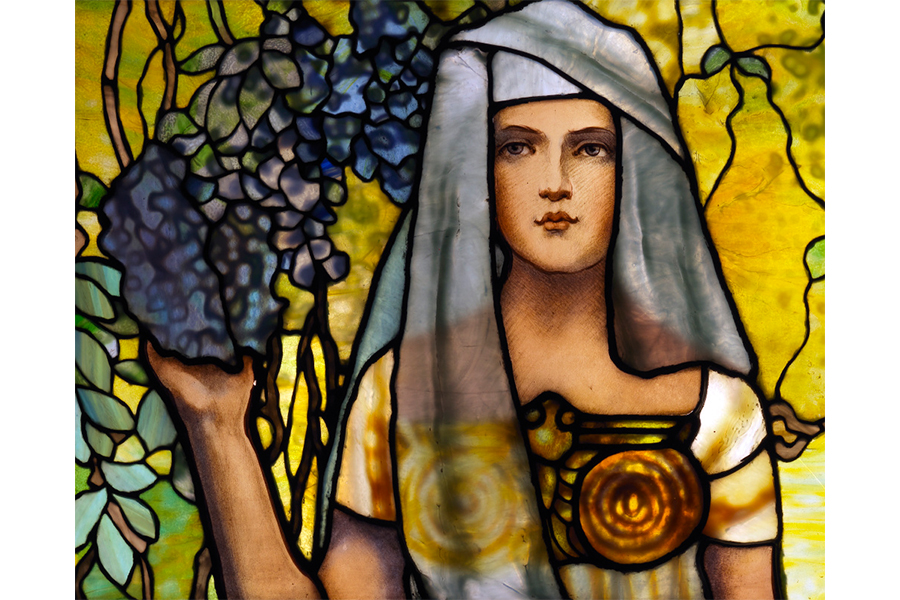
Artists create stained, or leaded, glass by assembling glass components with solder or lead. The process is most commonly associated with colorful windows in churches. Some of the oldest stained glass dates back to the first century CE.
Artists begin the process by drawing a design or “cartoon” on paper. In the drawing, they delineate where specific colors and shapes will appear in the final product. The artists use a scoring tool to cut each piece of the design from sheet glass, which may be smooth or textured and colorful or clear. In the copper foil technique, most commonly used today, the edges of each piece of flat glass are wrapped with a thin strip of copper foil. Once all the components are prepared, flux is applied to ensure good adhesion and the soldering process begins. One by one, each connecting seam between shapes is slowly joined together using an electric iron and a spool of solder. Upon completion, a patina is often applied to the solder joints to achieve the desired look. This technique can be used to create flat windows and window hangings and three-dimensional forms such as light shades. Tiffany Studio, Woman in a Pergola with Wisteria

